
Penetration testing iOS apps has always been a challenge for security engineers, jail-breaking physical devices and then patching the apps to support a very old version. It’s been a mess until vphone-cli came out!
vphone-cli is an open source tool that lets you run a virtual iPhone on Apple Silicon Macs using Apple’s own virtualization stack. It supports a full jailbreak variant with Sileo and TrollStore out of the box making it a powerful environment for iOS security research and penetration testing. This guide covers the complete setup process from disabling SIP to SSHing into your virtual device.
Prerequisites
Before getting started, make sure you have the following:
Hardware Requirements:
- Apple Silicon Mac (M1, M2, M3, or M4) — Intel Macs are not supported
- Minimum 128GB of free disk space during setup
Software Requirements:
- macOS 15 Sequoia or later , check via Apple Menu → About This Mac
- Homebrew installed if not, install from brew.sh
- Xcode Command Line Tools , install via
xcode-select --install
Security Settings (covered in the guide):
- SIP (System Integrity Protection) must be disabled
- AMFI (Apple Mobile File Integrity) must be bypassed via boot-args
- Secure Boot must be set to Reduced Security
To start the process, first clone the repository using this command.
The repo uses git submodules for resources, vendored Swift deps, and toolchain sources under scripts/repos/. Clone with:
git clone --recurse-submodules https://github.com/Lakr233/vphone-cli.git
Setting up the system
Before we can run the virtual iPhone, we need to disable two of macOS’s core security features. Don’t worry I will explain exactly why each one is needed.
Disable SIP:
To disable SIP completely get into recovery mode by shutting down your mac, restart it by pressing and hold the power button until you see “Loading startup options”.
Click Options → Continue to enter Recovery Mode
Go to Utilities → Terminal in the menu bar
type these commands in the recovery terminal.
csrutil disable
csrutil allow-research-guests enable
restart your system and confirm that SIP is disabled using this command:
csrutil statusDisable AMFI boot-args: after disabling SIP it is important to disable the AMFI boot-args. open the terminal and type this command.
sudo nvram boot-args="amfi_get_out_of_my_way=1"restart the system and confirm this by this command:
nvram boot-argsSignificance of these steps
- SIP to be disabled is important because of some features like secure boot. if it enabled it will not let us install the iOS in vphone. so it is needed to be disabled.
- boot-args runs before everything, even before the kernel. so it is just like a command to tell nvram to do this thing every time the system boots. the value “amfi_get_out_…..” will the disable amfi boot-args. if it is enabled it will not let us boot the iOS that is installed in the vphone.
Install Dependencies
install all the dependencies using this command:
brew install aria2 ideviceinstaller wget gnu-tar openssl@3 ldid-procursus sshpass keystone autoconf automake pkg-config libtool cmakeSetting up your device
to get started manually, follow the steps below.
Step 1 (terminal 1): open up your terminal, move into your vphone-cli directory and type this command. this will download all the dependencies and install all the build requirements.
make setup_toolswhen its done, you should see “All tools installed”.
Step 2 (terminal 1): compile and sign the main vphone-cli app from the source code using this command.
make buildwhen it is done, you should see “signed OK”.
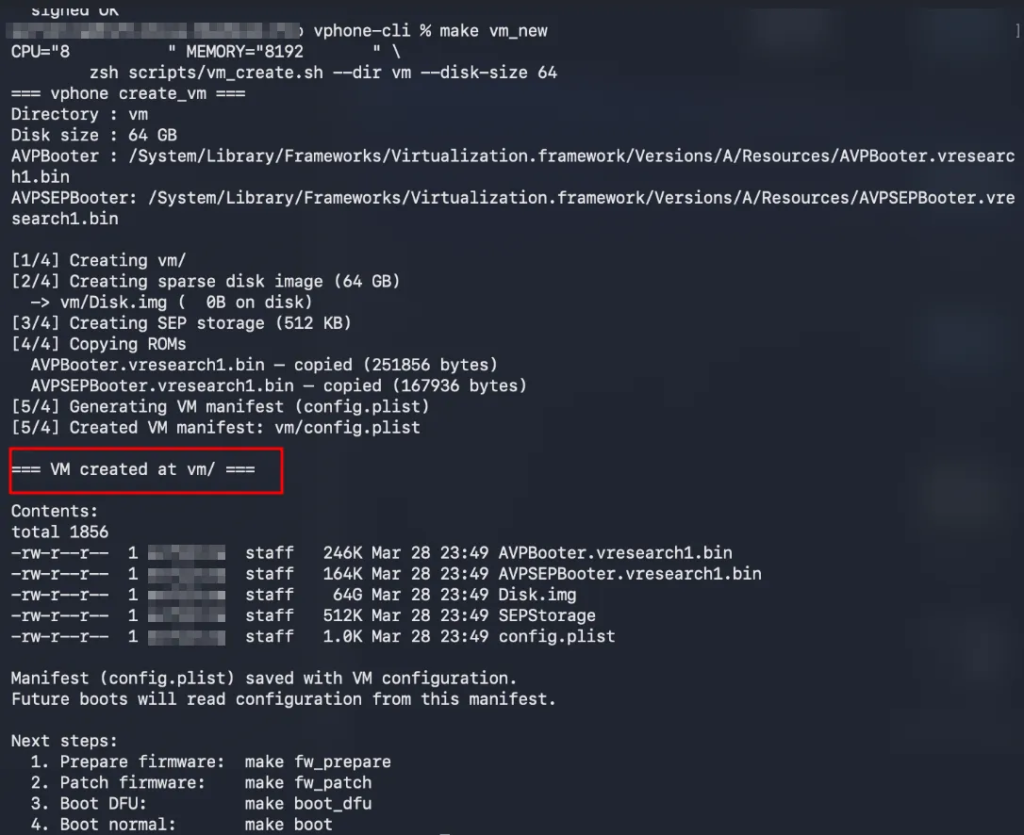
Step 3 (terminal 1): next step is to create a VM in which your phone lives. use this command.
make vm_newwhen its done, you should see “VM create at VM/” in the middle of your command’s output like this:
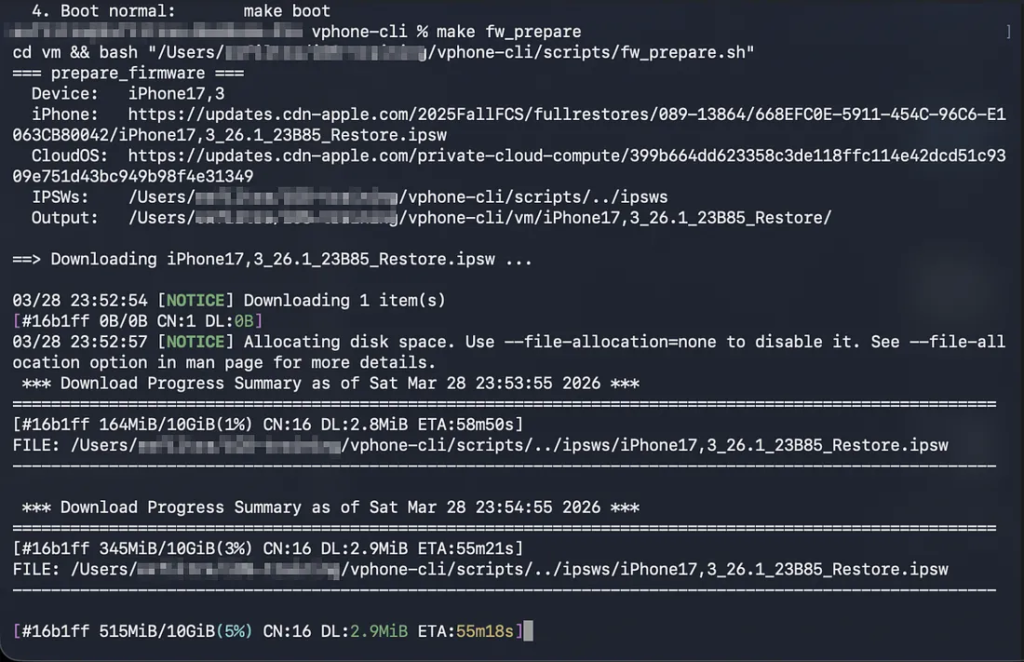
Step 4 (terminal 1): Downloads real iOS firmware from Apple’s servers, extracts and prepares it for patching.
Note: it is almost 10GB in size so it will take time
make fw_prepareyour output will be something like this:
Step 5 (terminal 1): patch the downloaded firmware by bypassing its security and jailbreaking it using this command.
make fw_patch_jbStep 6 (terminal 1): next step is boot into the DFU mode.
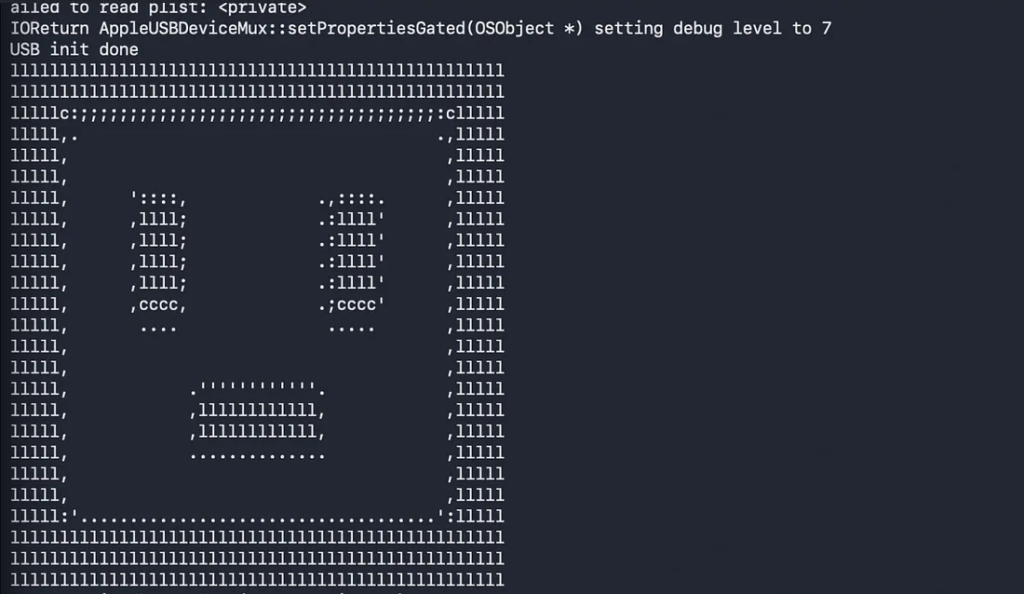
make boot_dfuwait for it until you see ‘VM started in DFU mode’ like this.
Press enter or click to view image in full size
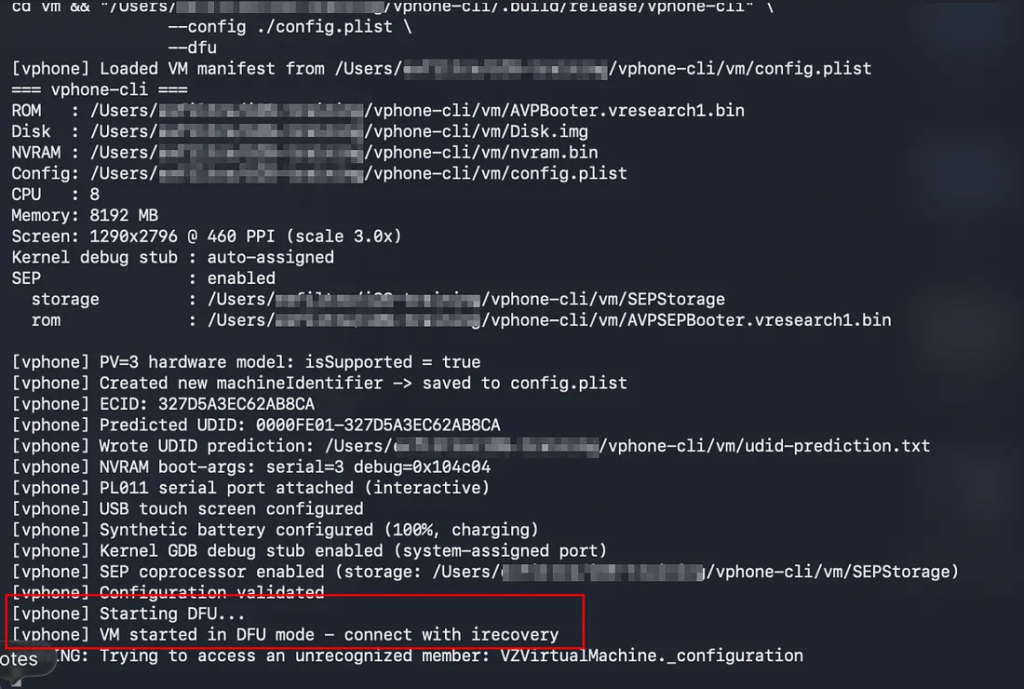
don’t close this terminal leave it running.
Step 7 (terminal 2): open another terminal. next step is to get the shsh blob of the firmware. shsh blob is a unique digital signature generated by apple for iOS device to verify firmware during updates or restore.
make restore_get_shshafter that flash your firmware using this command in the terminal 2.
make restorewait for it until you see ‘DONE’ at the end.
now it is time to prepare virtual ram for you VM.
Step 8 (terminal 1): move back into terminal 1 and stop the running process using ctrl+c and boot into dfu mode again.
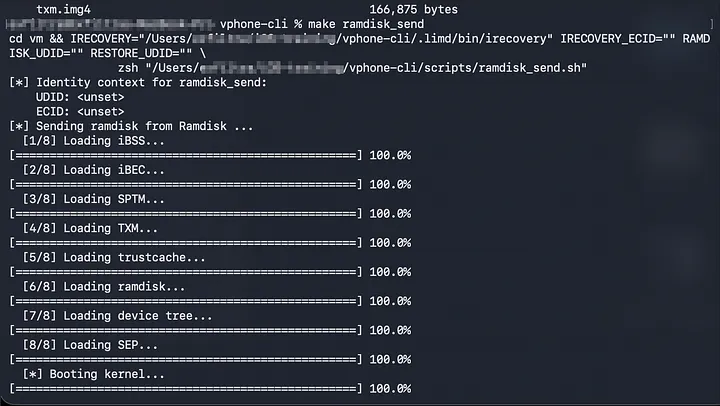
make boot_dfukeep it running, open up your terminal 2 and make a virtual ramdisk using this command.
make ramdisk_buildwhen its done send the ramdisk to your VM using this command.
make ramdisk_sendthe output of your terminal 2 will be like this:
Press enter or click to view image in full size
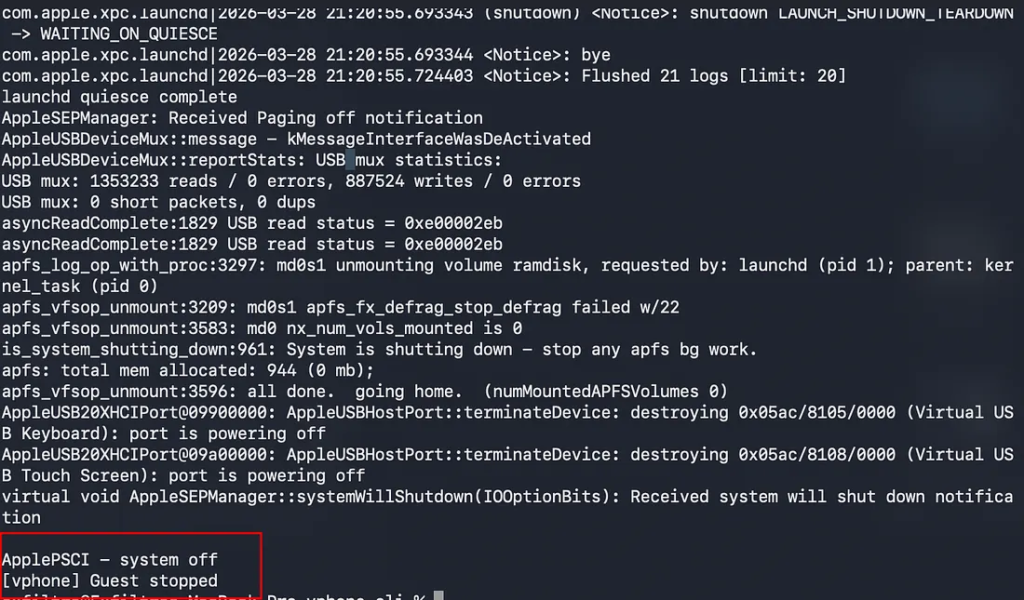
after that make sure that your terminal 1 is showing something like this with ‘running service’ at the end of the output.
Step 9 (terminal 3): open up another terminal and start a tunnel for ssh using this command.
iproxy 2222 22keep it running…
Step 10 (terminal 2): next step is to Install the custom firmware with full jailbreak environment, Sileo and TrollStore:
make cfs_install_jbwait for it until your output will be like this:
Step 11 (terminal 1): boot into your device using this command in the terminal 1.
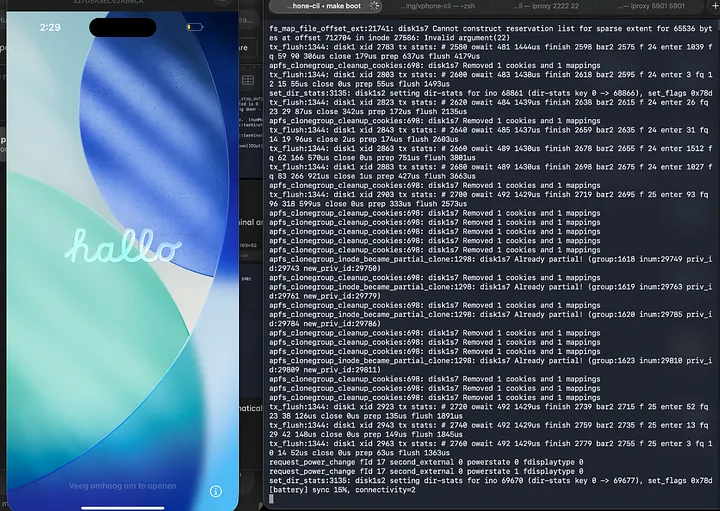
make bootwait for it until your device comes up….
Setting up SSH server
The setup is complete but before we dive into pentesting, establishing SSH access to the device is essential.
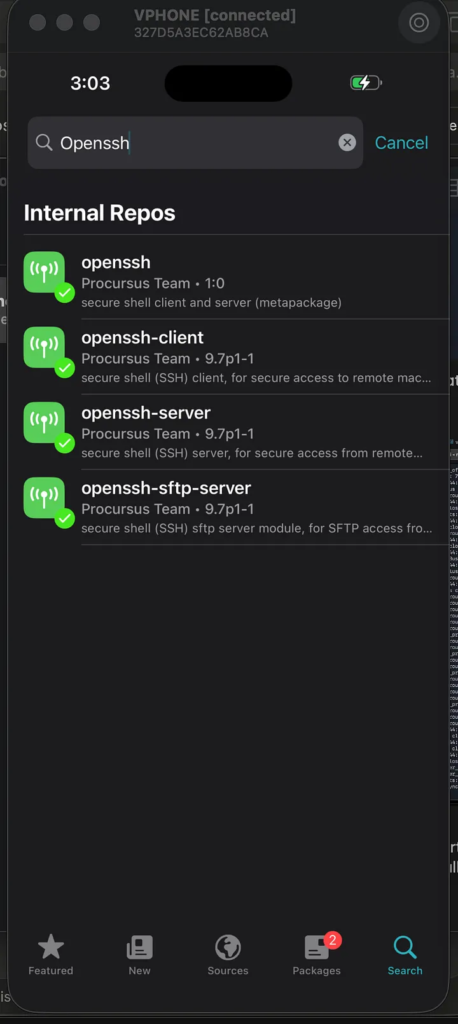
for that setup your device completely and wait for it until you see the home screen. you will see application called ‘sileo’ their, open it up go to search option and search for ‘sshserver’ and install it.
after installing it restart your virtual phone. make sure you have that ssh tunnel running on your computer. if not then start it again.
Connecting using SSH
after restarting your virtual phone, open a terminal and use this command to communicate through ssh.
ssh -p 2222 mobile@127.0.0.1mobile:alpine
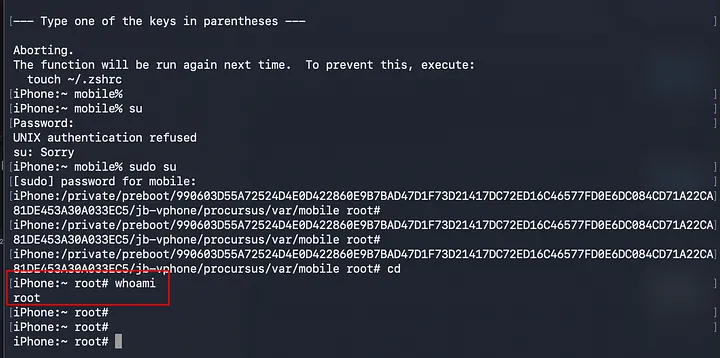
Confirm root
after getting into ssh try the ‘su’ command to confirm that you are root.
With a fully jailbroken iOS 26 virtual iPhone running on your Mac, you now have a powerful and cost-effective environment for iOS security research no physical device required.